My First Gocco Print
Or, I should say, my first successful gocco print.
It had taken me a while to decide to invest in a Gocco printer. Riso, the makers of the Japanese home screen printing kit stopped production in 2005. I eventually took the plunge and purchased PG-11 kit on Ebay from Japan.
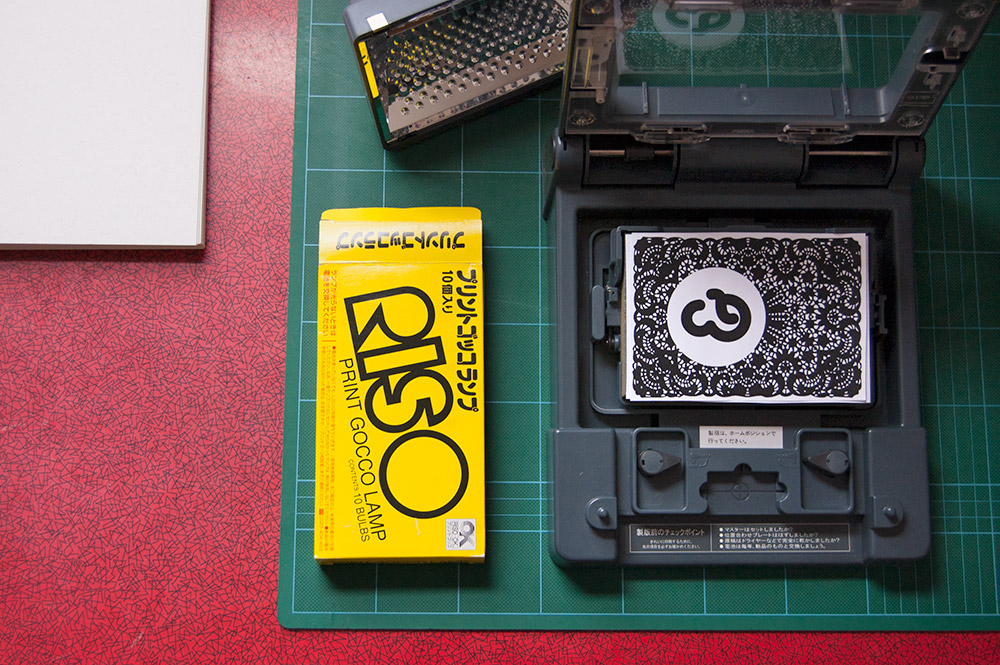
My first attempt was frustratingly unsuccessful. To make your master screen Gocco requires you to use a print made from carbon ink. I tried to make my master screen from a photocopy which attached itself after exposure (even using the blue filter). After more internet research it seemed that people had less problems using a laser printer. Following their advice my second attempt was a success.
Advice and lessons learnt
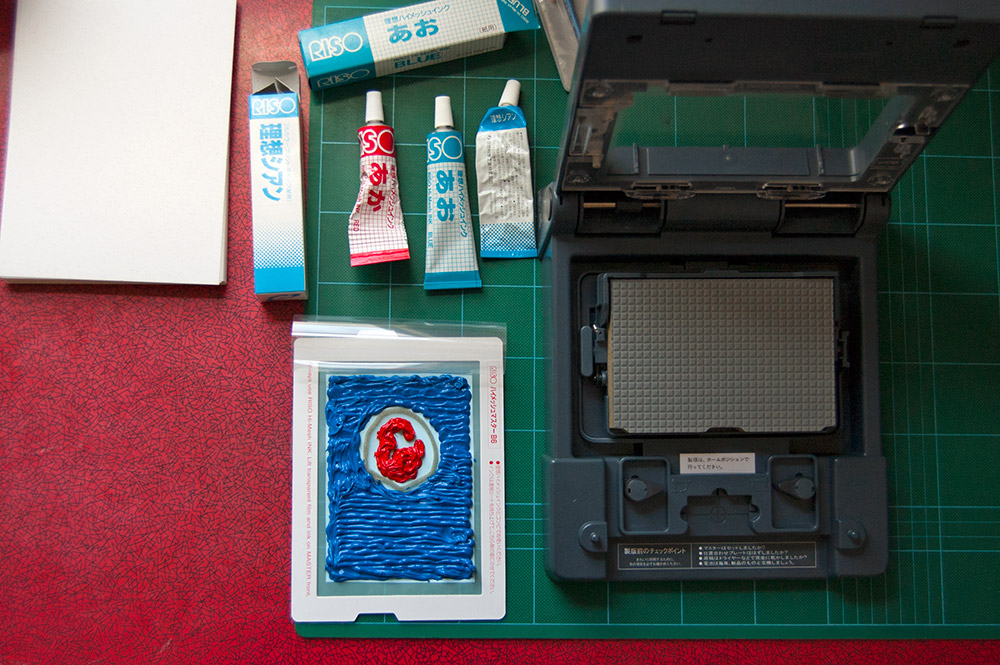
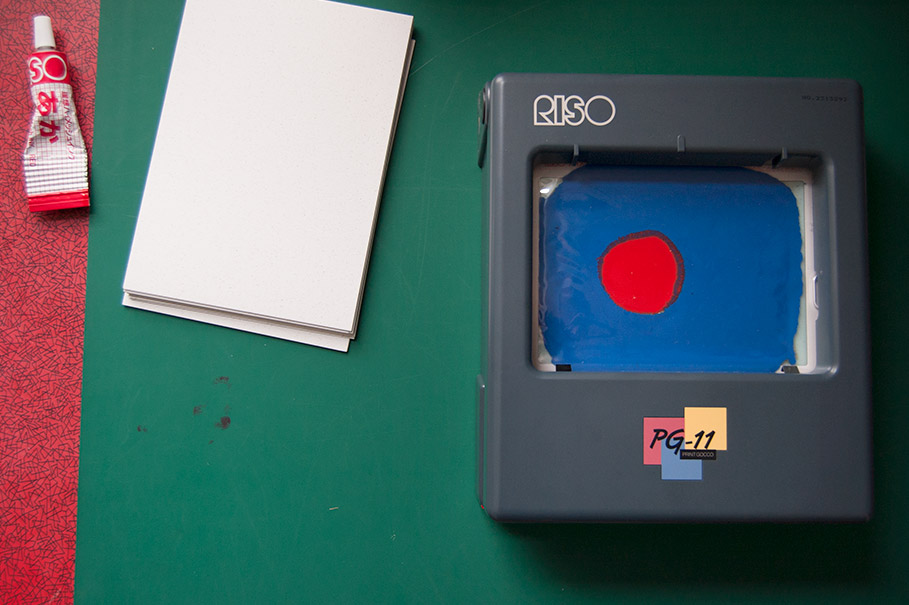
I read quite a lot about people getting patchy prints and not using enough ink. I may have over inked a little and my first design required a lot of coverage. From this I learnt..
It may sound obvious but it can get messy, at least messier than instructional videos may lead you to believe. For the mess have to hand; turps, rags and newspaper.
Ink got past my screen and onto the printer body. I used a philips screwdriver to remove the see-through plastic plate to clean it, using cotton buds (q-tips) to get into the smaller spaces.
Have spare jars for excess ink. Old clean spice jars would be ideal.
The final product
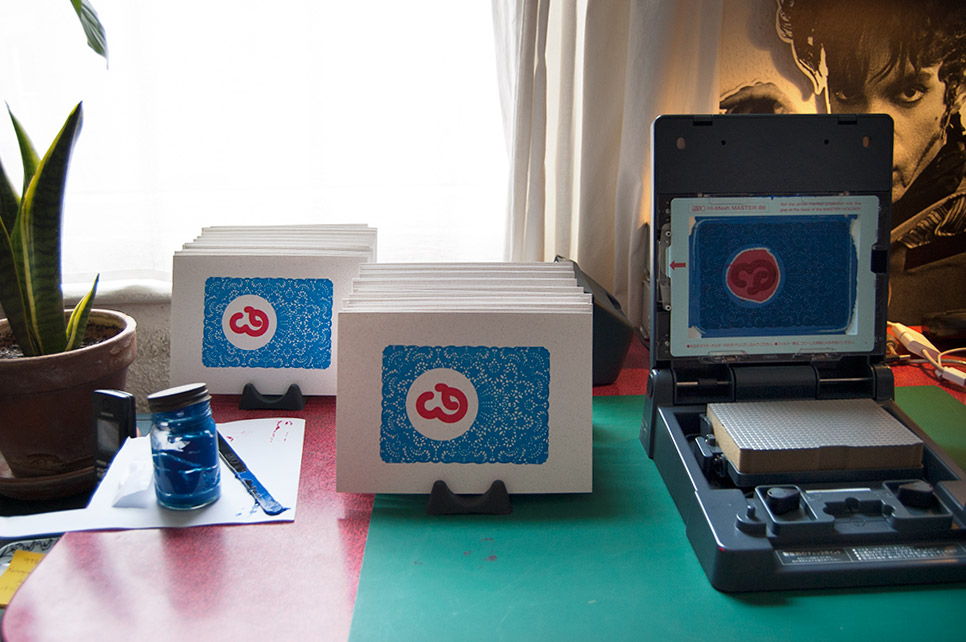
For this first attempt I tried to keep things simple. One screen for the print, using two colours. I am looking forward to experimenting with a two screen print using the PG-11 registration plate.
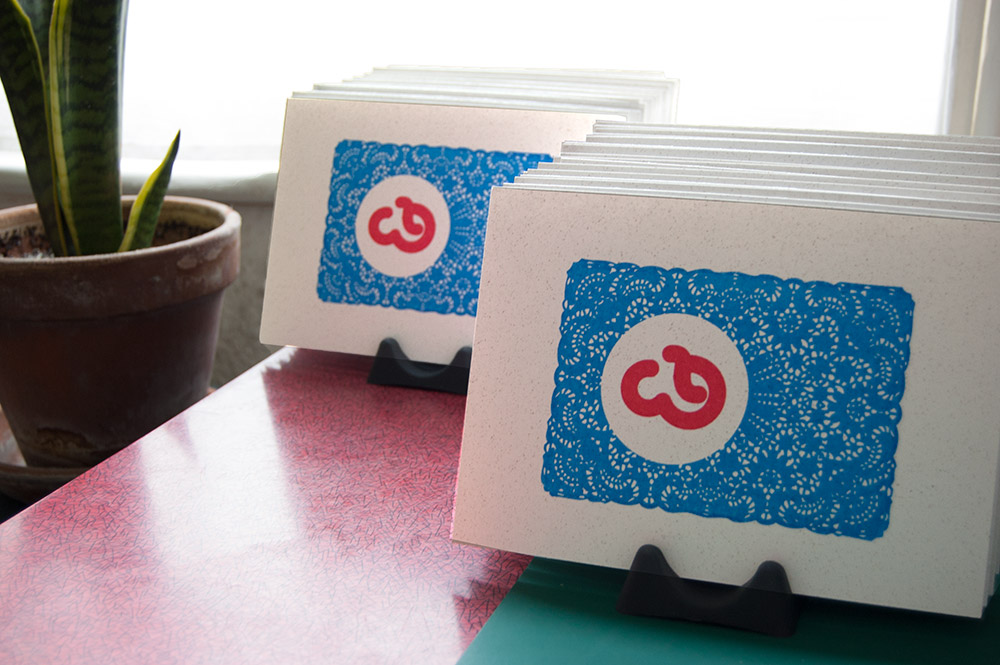
After seeing my Micheal Lewis of MIKMIK Studios‘ Gocco prints I asked him where to purchase the card that he used (for his beautiful prints). The 250gsm Bier paper is manufactured using a combination of leftovers from the brewing industry: beer labels and malt/yeast/hops fibres. Available from the Green Stationery Company.
Prints are available in my new Maraid Etsy shop.


Wow, Jane they look great! I’m on the eve of doing my first Gocco prints and your advice is very, very welcome. Thanks.